My first time running a real AI model locally on my Mac mini, I was honestly waiting for something to go wrong. Like, I thought I’d need to configure some CUDA drivers or buy a separate GPU or something like that. Instead I typed one command, waited about four minutes for a download, and then I was chatting with a 7-billion-parameter language model. Completely offline. No API key. No $20 monthly subscription. Nothing going to any server except my own machine.
I’ve been doing this for a few months now and I think it’s still kind of underrated. The Mac mini, especially the M4 and M4 Pro versions, handles local AI surprisingly well because of how Apple Silicon works. The CPU and GPU share the same memory pool, so you don’t have this awkward situation where your GPU only has 8GB to work with. If your Mac has 16GB of RAM, your AI model gets to use most of that 16GB. That changes a lot.
This guide is for beginners. You don’t need to know Python or anything about machine learning. If you can open Terminal and type commands, you can finish this in under an hour.
Before You Start: What You Actually Need
First, figure out how much RAM your Mac mini has. Go to the Apple menu, click “About This Mac,” and look at the Memory line.
Here’s what you can realistically run based on that number. If you have 8GB, you’re limited to smaller 3B models — they work but they’re not great for complex questions. With 16GB, you can run good 7B and 8B models like Llama 3.2 or Qwen 2.5, and those are genuinely useful for daily stuff. At 24GB you get into the 13B and 14B range, which is noticeably smarter. And if you have 48GB (that’s the M4 Pro tier), you can run 32B models that honestly feel closer to ChatGPT than people expect.
One more thing. Make sure you have at least 20GB of free disk space. The models themselves are big files — a 7B model at Q4 quantization is around 4–5GB, and you’ll probably want to try a few before settling on one.
You’ll see the word “quantization” everywhere and it confused me for a while. The short version: AI models are originally trained at full precision, which makes them very large. Quantization is basically a compression process — it reduces the file size by storing the numbers at lower precision. A Q4 model is compressed more aggressively than a Q8 model. Q4 is smaller and faster but slightly less accurate. Q8 is bigger and closer to the original quality. For most daily use, Q4 is fine. You won’t notice the difference unless you’re doing something very precise. When Ollama downloads a model by default, it picks a Q4 or Q4_K_M version automatically, so you don’t actually need to think about this much. I’m just mentioning it so the terminology doesn’t throw you off when you see it.
Step 1: Install Ollama
Ollama is the tool that runs everything. Think of it like a package manager for AI models. You tell it which model you want, it downloads and sets everything up, and then you can chat with it from Terminal or connect a browser interface later.
Go to ollama.com and download the macOS app. It’s a .dmg file, same as any other Mac app. Open it, drag to Applications, done. Once you open it, a small llama icon appears in your menu bar. That means it's running in the background.
Open Terminal now. Press Command + Space, type terminal, hit Enter.
Type this command and press Enter:
ollama run llama3.2:3bThat pulls a 3-billion-parameter version of Meta’s Llama 3.2 model. It’s about 2GB. If you have 16GB RAM or more, try this instead:
ollama run llama3.2No size tag means it defaults to the 3B version, but you can also try:
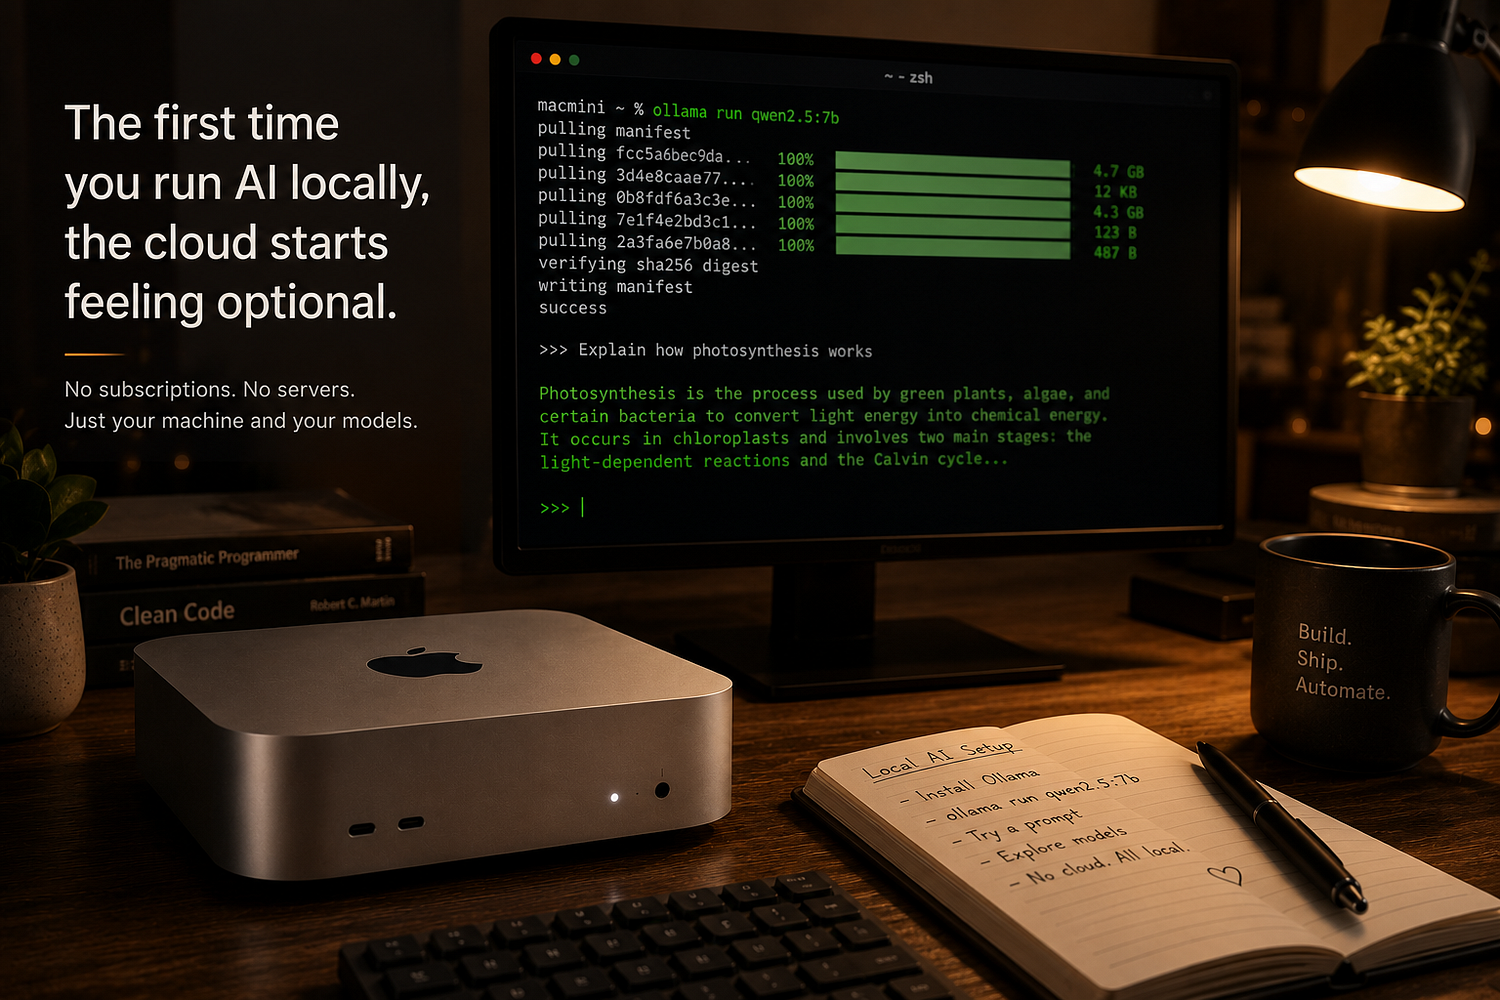
ollama run qwen2.5:7bQwen 2.5 7B is probably my favorite for everyday use on a 16GB machine. It’s fast, handles most questions well, and is about 4.7GB to download. I honestly keep going back to it. The first time you run any model, Ollama downloads it automatically. After that it’s cached locally, so it loads in a few seconds.
Once the download finishes you’ll see a >>> prompt. Just type your question and press Enter.
>>> Explain how photosynthesis worksAnd it answers. That’s it. You’re running local AI. To exit, type /bye.
Step 2: A Few More Useful Commands
You don’t need to memorize these but they’re handy to know.
To see what models you’ve downloaded:
ollama listTo pull a model without running it immediately:
ollama pull mistralTo delete a model you don’t want anymore (and free up disk space):
ollama rm llama3.2:3bOne thing I ran into early on — if you close Terminal while a model is running, it doesn’t actually stop Ollama. The llama icon is still there in your menu bar and everything is fine. You can reopen Terminal and run the model again without downloading anything. Took me longer than I’d like to admit to figure that out.
Step 3: Get a Proper Chat Interface (Optional but Worth It)
The Terminal chat works but it’s a bit basic. No history, no way to upload a file, no good way to switch between models quickly. If you want something that looks and feels more like ChatGPT, there are two ways to go.
Option A — LM Studio (easiest)
LM Studio is a free app with a visual interface. Go to lmstudio.ai and download it. Open the app, click the search tab, and find a model — Qwen 3 8B is a solid starting point as of June 2026. Click Download, wait for it to finish, then click Chat in the sidebar and start talking. No Terminal needed at all for this one.
The only thing that annoyed me about LM Studio is that it has its own model library separate from Ollama. So if you’ve already downloaded Qwen via Ollama, LM Studio will download it again separately. They don’t share the same storage. Not a huge deal but worth knowing.
Option B — Open WebUI (more powerful)
Open WebUI is a browser-based interface that connects to your existing Ollama setup. It looks exactly like ChatGPT, with conversation history, file uploads, model switching, the whole thing. This one requires Docker, which is a bit more technical but not hard.
First, install Docker Desktop from docker.com. Just download the .dmg and install it like any other app. Open Docker and let it start up (takes maybe 30 seconds).
Then paste this command into Terminal:
docker run -d -p 3000:8080 --add-host=host.docker.internal:host-gateway \
  -v open-webui:/app/backend/data --name open-webui --restart always \
  ghcr.io/open-webui/open-webui:main
Wait about 30 seconds. Then open your browser and go to http://localhost:3000.
First time you open it, it asks you to create a local account — username and password, stored on your own machine. After that you get a full chat interface with your Ollama models available in a dropdown. It’s pretty slick honestly. The Open WebUI container uses about 500MB of RAM on its own, so just something to keep in mind on an 8GB machine.
What Model Should You Actually Use?
This is the question everyone has and the answer is kind of “it depends,” but let me just tell you what I’ve found actually works.
For general questions and writing help on a 16GB machine, Qwen 2.5 7B is good. It’s fast, doesn’t fill up memory, and handles everyday tasks well. For coding specifically, try ollama run codellama:7b or ollama run qwen2.5-coder:7b — the coder variants are trained differently and are noticeably better at writing and debugging code.
If you have 24GB RAM, try ollama pull llama3.1:13b. It's a bigger jump in quality and still runs at a comfortable speed. The 7B models on a 16GB machine generate maybe 25–35 tokens per second. That's fast enough to feel real-time. The 13B on 24GB drops to around 15–20 tok/s, still totally usable.
On the 48GB M4 Pro, you can run 32B models like Qwen3.5–32B or Gemma 4 31B. A Reddit thread from earlier this month was reporting Gemma 3 27B at around 14–15 tok/s in MLX on a 24GB M4 Pro, which is solidly in real-time territory.
So basically: start with whatever your RAM allows at the 7B–8B level, see how it feels, then go bigger if you have headroom.
What’s Local AI Actually Good For?
This part I don’t see in most guides. People spend all the time on setup and never really answer the practical question.
Local AI is really good for: summarizing long documents, drafting emails, writing or explaining code, asking questions about sensitive information you don’t want going to the cloud, and just having a chat assistant available offline. I use it a lot when traveling because it works fine with no internet connection.
Let me be more specific though, because “summarizing documents” sounds vague. What I actually do: I paste in a long PDF — a contract, a research paper, something from work — and ask it to pull out the key points. That works well even on a 7B model. I also use it to explain error messages when I’m writing code. You paste the error, ask “what does this mean and how do I fix it,” and it’s fast. Better than Googling half the time. My wife uses it for drafting emails she doesn’t know how to word. She copies a rough idea, tells the model what tone she wants, and it gives her something to work with. That’s it. Nothing complicated.
The privacy angle is real too. If you’re pasting client information, medical notes, or anything sensitive into ChatGPT, you’re sending that to OpenAI’s servers. I’m not saying that’s catastrophic — OpenAI has policies about it — but some people just don’t want that. With local AI, the text never leaves your machine. It processes entirely on your CPU and GPU. That’s the whole point for a lot of people who set this up.
It’s not as good as GPT-4 or Claude Sonnet for complex reasoning tasks. That’s just the honest truth. A 7B model running locally will fumble more on multi-step logic problems or nuanced writing tasks than a frontier cloud model. The tradeoff is privacy, cost, and the fact that you can leave it running 24/7. The M4 Mac mini draws around 12–15W at idle and 30W under load, which works out to about $15–20 per year in electricity if you leave it on constantly. That’s less than one month of a Claude Pro subscription.
If Something Goes Wrong
A few things tripped me up when I was first setting this up.
If Ollama doesn’t start or the llama icon doesn’t appear, try quitting it from the menu bar and reopening the app from Applications. Sometimes the background service needs a restart.
If a model is downloading extremely slowly, it might be your internet connection — the files are large. You can safely cancel with Ctrl+C and resume the same download command later, Ollama picks up where it left off.
If Open WebUI says it can’t connect to Ollama, make sure the llama icon is visible in your menu bar (Ollama is actually running) and that you included the --add-host=host.docker.internal:host-gateway part of the Docker command. That flag is what lets the container talk to Ollama on your Mac. I forgot it the first time and spent twenty minutes confused.
And if a model is responding but very slowly — like one word every few seconds — it’s probably too large for your RAM and is swapping to virtual memory. Delete it and try a smaller version.
One More Option Worth Knowing
If you’re comfortable with Python, there’s a third option called MLX — it’s Apple’s own machine learning framework built specifically for Apple Silicon. It can be 20–30% faster than Ollama for some workloads because it’s designed around the hardware at a lower level. Install with pip install mlx-lm and find models on the MLX Community section of Hugging Face.
Most beginners won’t need this. Ollama is fine for 90% of use cases and the speed difference isn’t always noticeable in normal conversation. But if you get into this and start caring about tokens per second, MLX is the path to squeeze out more performance.
Sharing It With Other Devices on Your Network
This is something I didn’t think about at first but it’s actually one of the best things about doing this on a Mac mini specifically. By default, Ollama only listens on localhost — meaning only your Mac can talk to it. But you can make it available to every device on your home Wi-Fi with one small change.
Open Terminal and run this instead of the usual Ollama launch:
OLLAMA_HOST=0.0.0.0 ollama serveNow any device on your network can reach it. Find your Mac mini’s local IP address — go to System Settings > Network, it’s listed there, something like 192.168.1.45. From your phone or another laptop, you can point any Ollama-compatible app at http://192.168.1.45:11434 and it works.
And if you set up Open WebUI like we covered earlier, that’s even simpler. Just bookmark http://192.168.1.45:3000 on your phone. The whole interface loads in the browser, looks like ChatGPT, and is talking to the model running on your Mac mini across the room. My partner started using it from her laptop the same day I set it up — I didn't have to explain anything, she just opened the link and it worked.
The Mac mini is genuinely good at this “always-on home AI” setup. It uses so little power that leaving it on 24/7 barely costs anything. And because it has no fan noise when idle, you can tuck it behind a monitor or on a shelf and forget it’s there.
Getting Started Today
Okay, so if you’re going to do one thing after reading this, install Ollama and run ollama run qwen2.5:7b (if you have 16GB RAM) or ollama run llama3.2:3b (if you have 8GB). Ask it something, see how it responds. The whole thing takes maybe ten minutes.
After that, you can decide whether you want LM Studio for a nicer interface, or Open WebUI if you want something your whole household can access from any device on your home network. Both work great.
The Mac mini is kind of underrated for this. It’s quiet, always on, doesn’t need a monitor, and Apple Silicon handles local inference better than most people expect. A friend of mine has an M2 Mac mini with 16GB that he set up as a home AI server in October 2025 — it just sits on a shelf, runs Ollama constantly, and answers requests from his phone and laptop. He hasn’t touched ChatGPT since.